PowerClerk Support Center
- Project Pages
- Program Design Menu
-
- Automations
- Channels
- Communications
- Connections
- Content Library
- Custom API IDs
- Data Fields
- Deadlines
-
- Questions to ask yourself
- Locating the Deadlines feature
- What are Deadlines
- How to Create a Deadline
- Deadline Automation Action Rules
- Utilizing Project Admin Page for Deadlines
- Communication Templates for Deadlines
- Deadline Set/Satisfy Options
- Program-Wide Deadline Actions
- Reporting on Deadlines
- Deadlines in Project List Columns
- FAQs
- Document Templates
- eSignature Envelopes
-
- Questions to Ask
- Locating the eSignature Feature
- What are eSignature Envelopes?
- eSignature Checklist: The Prerequisites to create a new Envelope
- How to set up Advanced eSignature Envelopes Step-by-Step
- How to add an eSignature Envelope to a form
- eSignature Automation Trigger
- Viewing Completed eSignature Envelopes
- Resending eSignature Notifications
- Canceling eSignatures
- FAQs
- Forms
-
- Questions to ask yourself
- Locating the Forms feature
- How to create and edit Forms
- Adding data fields
- Form Versions and Draft Forms
- Configuring Forms
- Form Field Elements
- Field Properties
- Conditional Visibility
- Sensitive Data Fields
- Location Form Element
- Address Autocomplete
- Exporting a Form to Excel
- VersaForms
- FAQs
- Formulas and Calculated Fields
- Front Page
- Incentive Design
- Milestones
- Project List Columns
- Project Summary
- Project Views
- Roles
- Themes
- Workflow
- Admin Menu
- Tools Menu
-
- My Account
-
- Questions to Ask
- Locating the My Account feature
- How to use the My Account feature
- Lockouts and Password Resets
- Setting up Multi-Factor Authentication
- Missing, lost, or stolen mobile devices: resetting Multi-Factor Authentication
- Disabling Multi-Factor Authentication
- Recovery Guidelines for MFA Administrators
- FAQs
- FormSense
- Grant Access
- Integration Guides & API
- PowerClerk Video Guides
-
- Setting up Roll-up Reports
- New User Video Guide
- Configuring Forms
- Roles and User Administration
- Setting up Business Days
- Formulas and Advanced Visibility Rules
- Visualize Workflows
- Dashboards
- FormSense
- Milestones
- ArcGIS
- Project Summary
- Automation with Formulas in Action Rules
- API
- Edit Forms - Tutorial #1
- SFTP Automatic Data Import
- Calculated Fields
- Web Connector Setup
- Edit Forms - Tutorial #2
- Build A Formula
- Help Articles
- PowerClerk Program Launch
- PowerClerk User Group Sessions (UGS)
- Learning Management System (LMS)
- Join us for Reflow!
- NEW: PowerClerk Certifications
Project Admin Page
Use the Project Admin page to review project details and manipulate a project using Administrative Privileges.
Locating the Project Admin Page
Anyone in a Role with the privilege to view the Admin page can navigate to the Project Admin page of a given project by expanding the details of a project from the program home screen and selecting the “Admin” button.

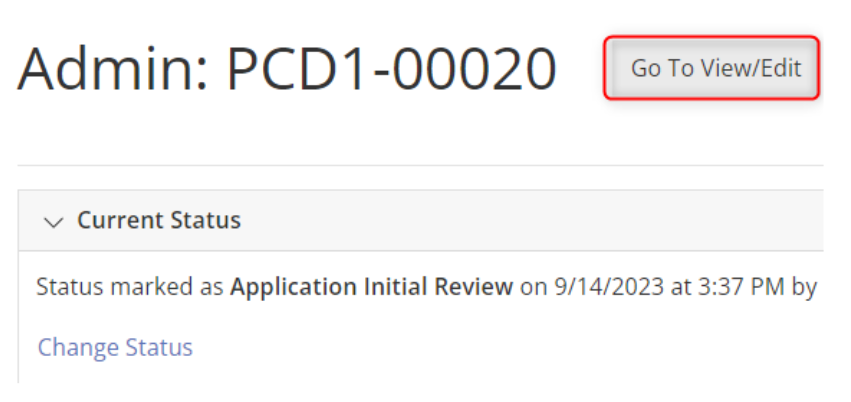
Once in the Admin view of a project, you can toggle to the View/Edit page using the ‘Go To View/Edit’ button at the top of the page.
How to use the Project Admin page
The Project Admin page contains numerous tools and features designed to give a user with the ‘Access Project Admin Page’ privilege the ability to review a more detailed history of a project while also undertaking administrative tasks that may be necessary for atypical projects. This page is similar in design to the view/edit page, but with the ability to take action in each of the sections.
Side-by-Side Navigation
At the top-right of the Admin Page there will be a toggle button to enable “Side-by-side View” which will change the layout of the Admin Page by displaying the forms section on the right, and all other sections on the left. If enabled, side-by-side view will be the default view when any project admin page is opened in the program by the user who enabled the toggle.

Below is information for the sections available on the Admin page. Depending on Program configuration and Project activity, these sections may change from project to project.
Current Status
This section will allow a user with Admin privileges to change the project status. Depending on the configuration of their role, an Admin user can either change a project status within the configured Workflow, or outside of that Workflow.
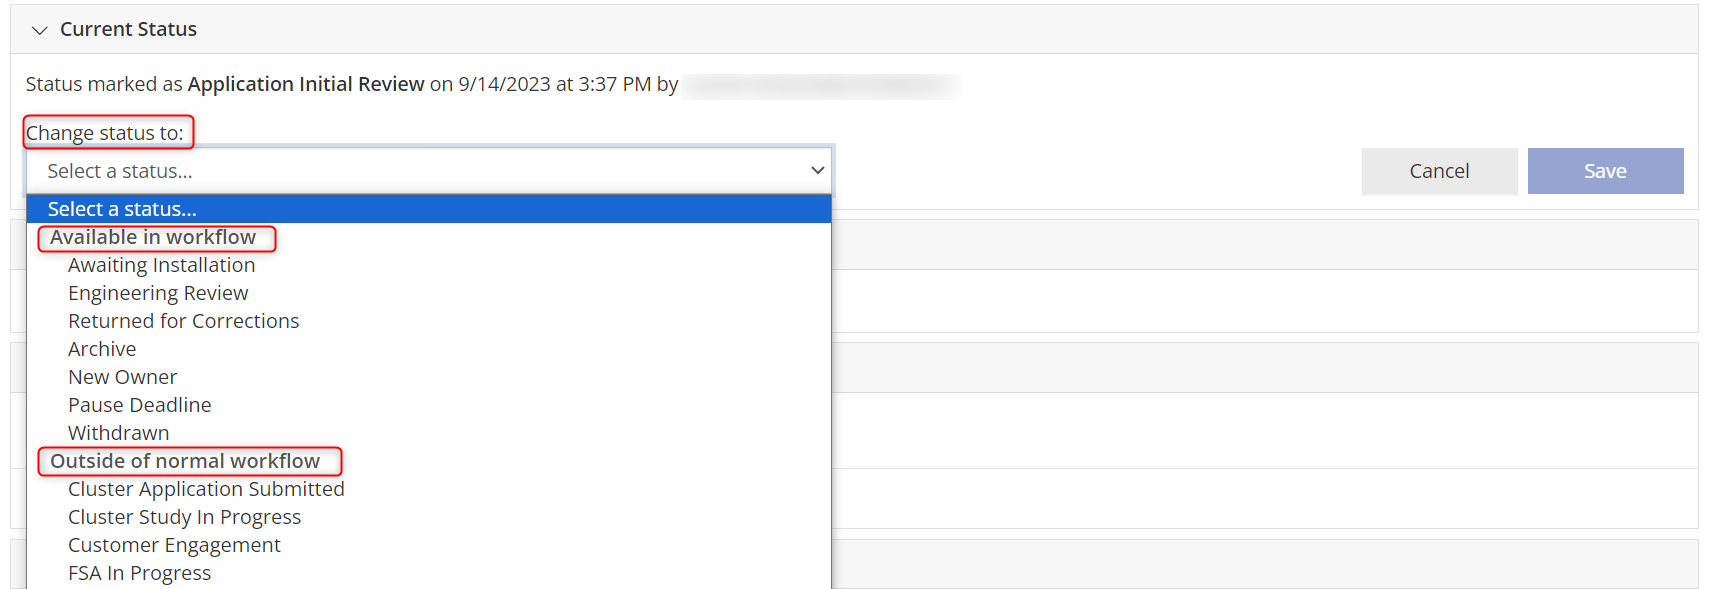
This section also allows the user to view the Status History, including date/time stamps and the user who initiated the change.


If an Admin role has the permission to ‘Edit Reported Status Date’, they may do so from the Status History page by clicking on the selected status and choosing ‘Change Status Reporting’. Once selected, the user can choose to not report (i.e. running a Report with a status filter will not select this project), or ‘report as’ and change the date that this status should be recorded for reporting purposes. Any changes made to the status reporting will be recorded in the ‘Reported’ column. Learn more about Reports here.

Duplicate Projects
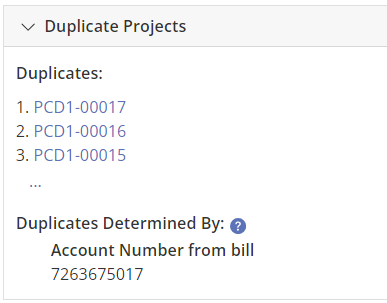
Note: This section will only appear in Programs that have enabled automatic duplicate checks. To learn more about Duplicate Check, see here.
Projects that are identified by the criteria configured in the Automatic Duplicate Check will appear here with a link to the identified project.
Related Projects
Note: This section will only appear in Programs that have enabled Cross-Program relationships. To enable this for your program, please have a Program Admin reach out to support@powerclerk.com.


If a project was previously marked as related using a configured channel, a link to that project will appear in this section. A relationship between two projects can be disconnected using the ‘Remove’ button to the right of the project link. Learn more about creating relationships with the Channels feature here.

Project Summary
This section will display a selection of project data according to what the program has configured. The project summary can display a different set of data on the View/Edit page than the project Admin page. Learn more about configuring the Project Summary section here.

Project Notes
This section can be used by Admin users to record internal-facing notes about the project. When a note is added, it will record the user who entered the note, date, and timestamp. Once a note is added, it cannot be edited, it can only be deleted. Note: there is an option to prevent deleting notes. To enable this for your program, please have a Program Admin reach out to support@powerclerk.com.

Attachments
All attachments uploaded in association with this project will be displayed in this section. Additional admin actions can be taken by clicking ‘View’ on a selected attachment.

Once selected, the user can enter ‘Notes to Applicant’ about the attachment. The status of the attachment can also be set to ‘Approve’, or ‘Reject’. Both attachment notes and status will be displayed on the project ‘View/Edit’ page but will not send any associated communication.
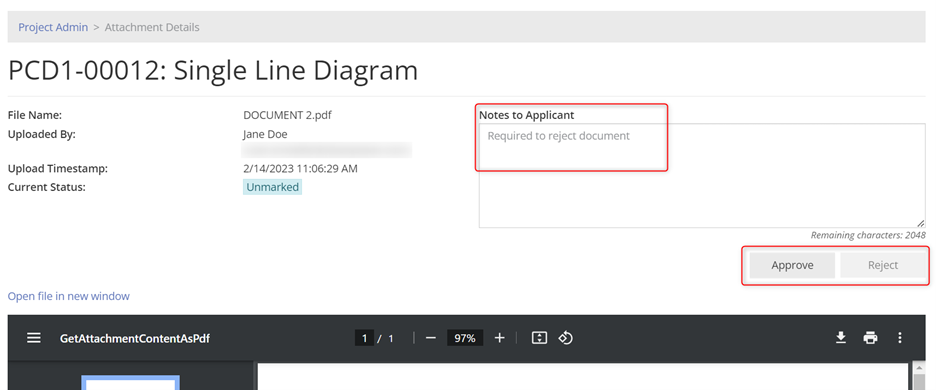
To act on an attachment status, there must be an automation trigger (such as a form submission), and an action with a condition using the attachment status formula operator.
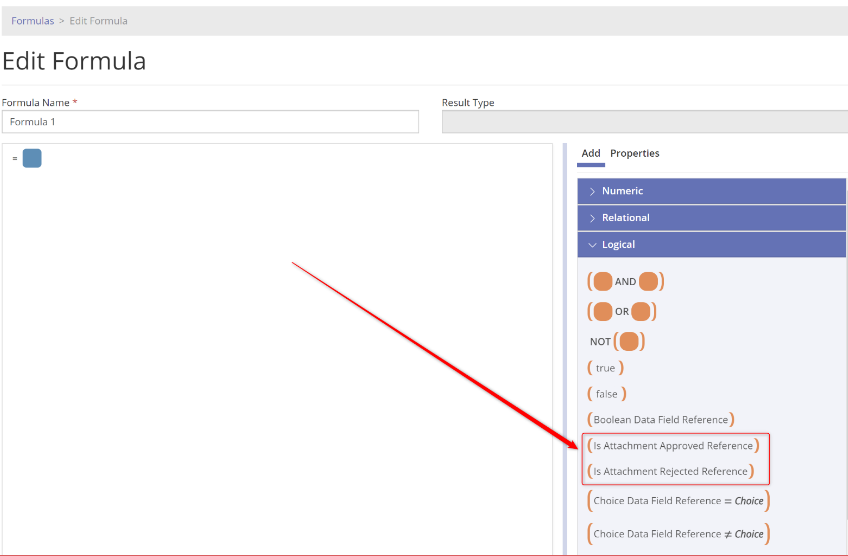
If a previously rejected attachment appears on a subsequent form (e.g. an application form that is returned for corrections), the form will not allow submission unless the rejected attachment is removed, and a new attachment is uploaded.


Additional attachments can also be uploaded from this section using the ‘Add attachment’ link. Once selected, and before uploading, the user will have to choose the title of the attachment from a list of available attachment data fields on the selected Admin Form displayed.


Ask a Question Threads
If the Project Inquiry feature is enabled for your program, and the ‘Show Project Inquiries on the Project Admin Page’ option is turned on under Program Info page, the user will see the ‘Ask a Question Threads’ section, pictured below. In addition, an admin can ask a question of the applicant (instead of vice versa) if the ‘Allow program administrators to create new Project Inquiry threads?’ option is turned on, which can also be found on the Program Info page. From the Admin Page, users can ‘Add Reply’ to respond to an Inquiry, or ‘Change Inquiry Status’, to close the conversation and prevent further discussion on any given thread.
All attachments uploaded in association with this project will be displayed in this section. Additional admin actions can be taken by clicking ‘View’ on a selected attachment.

Communications
Unlike the Project View/Edit page, the Admin page will show ALL communications sent from PowerClerk to any recipient, not just the Project Owner. Expand the communication row and click ‘View’ to open the communication.

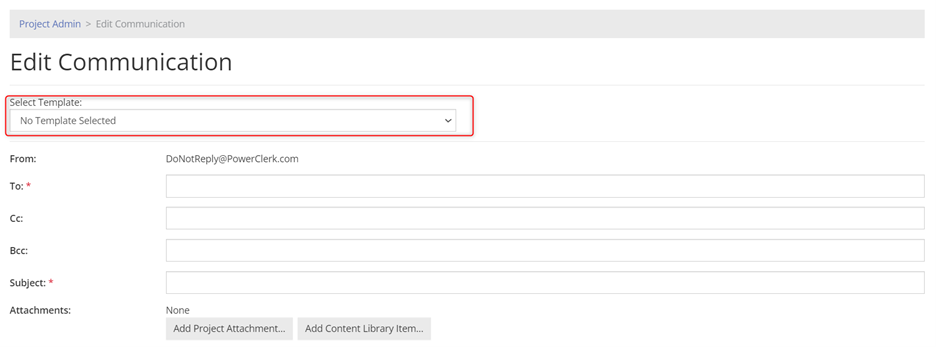
This section will also allow the user to send an Ad Hoc communication from PowerClerk using the ‘Send communication’ link at the bottom. Once selected, the user can choose to select a template, or create the communication from scratch. Once sent, this ad hoc communication will also appear in the Admin Page’s Communications section.

Deadlines
This section will display all active deadlines set for the project. Users may also view previously satisfied deadlines by checking the box ‘Include satisfied deadlines’.
For each active deadline, the user can expand the deadline to select between the option to ‘Change due date’ or ‘Mark as satisfied’. If a deadline is configured to perform an action upon its due date, marking it as satisfied will not execute those actions.

This section also allows the user to set a new deadline for the project by selecting from the list of deadlines configured in the program.

eSignature Statuses
This section provides information on any eSignature Envelopes that have been sent out for the project. Expand the envelope row and click ‘Download’ to open the signed document. To learn more about eSignature Envelopes, navigate here.

Authenticated Links
Note: This section will only appear if a VersaForm has been sent out in this project’s history. To learn more about VersaForms, see here.
The ‘Authenticated Links’ section will display all links created in association with the project. Each time a VersaForm link is made available in association with a project, an authenticated link is created, which is how the VersaForm is accessed. This section displays which VersaForm link was created, what Communication it was present in, when it is set to expire/has expired, and whether the link is active or not.
If the user expands each row, they can view the communication that the link was sent out from.

ePayments
Note: This section will only appear if ePayments are enabled in the program. To learn more about ePayments, see here.
Details about ePayments can be found in this section, with more detailed payment history available when each payment line is expanded.

Other Information
This section allows users to change the Project Owner, Project Assignee, or conduct a more detailed audit of the project history.

Project Data History
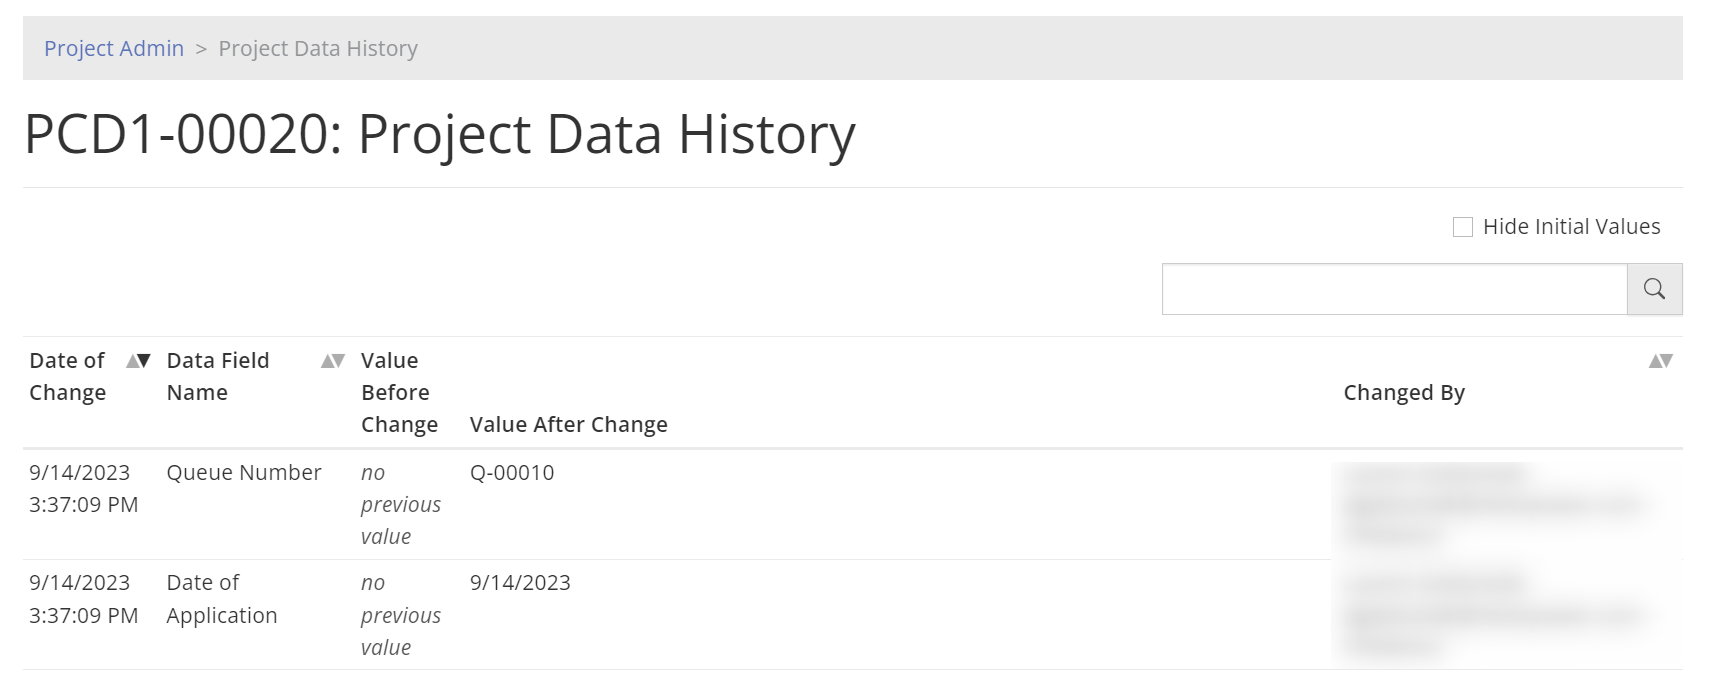
This link will display every data field change in the project history alongside the date and which user the change was made by. Users can use the Project History search bar to search for data field names, the current values of data, or previous values of data.

Project Event History
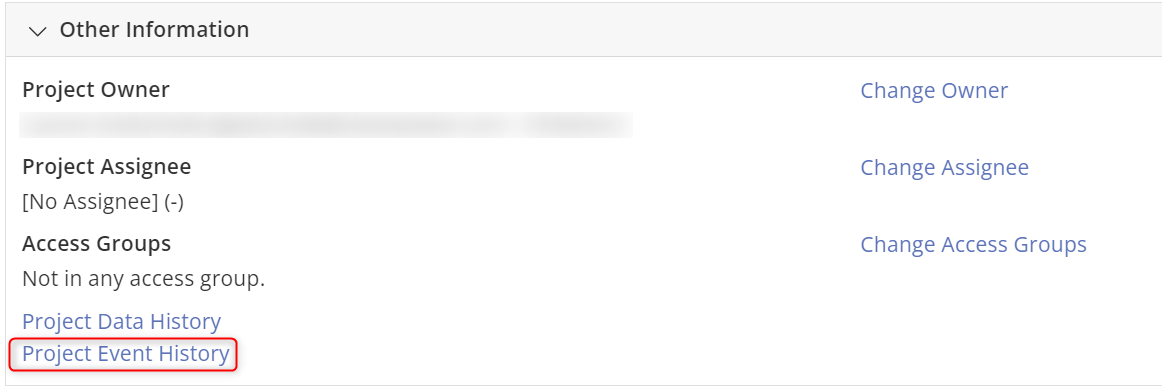
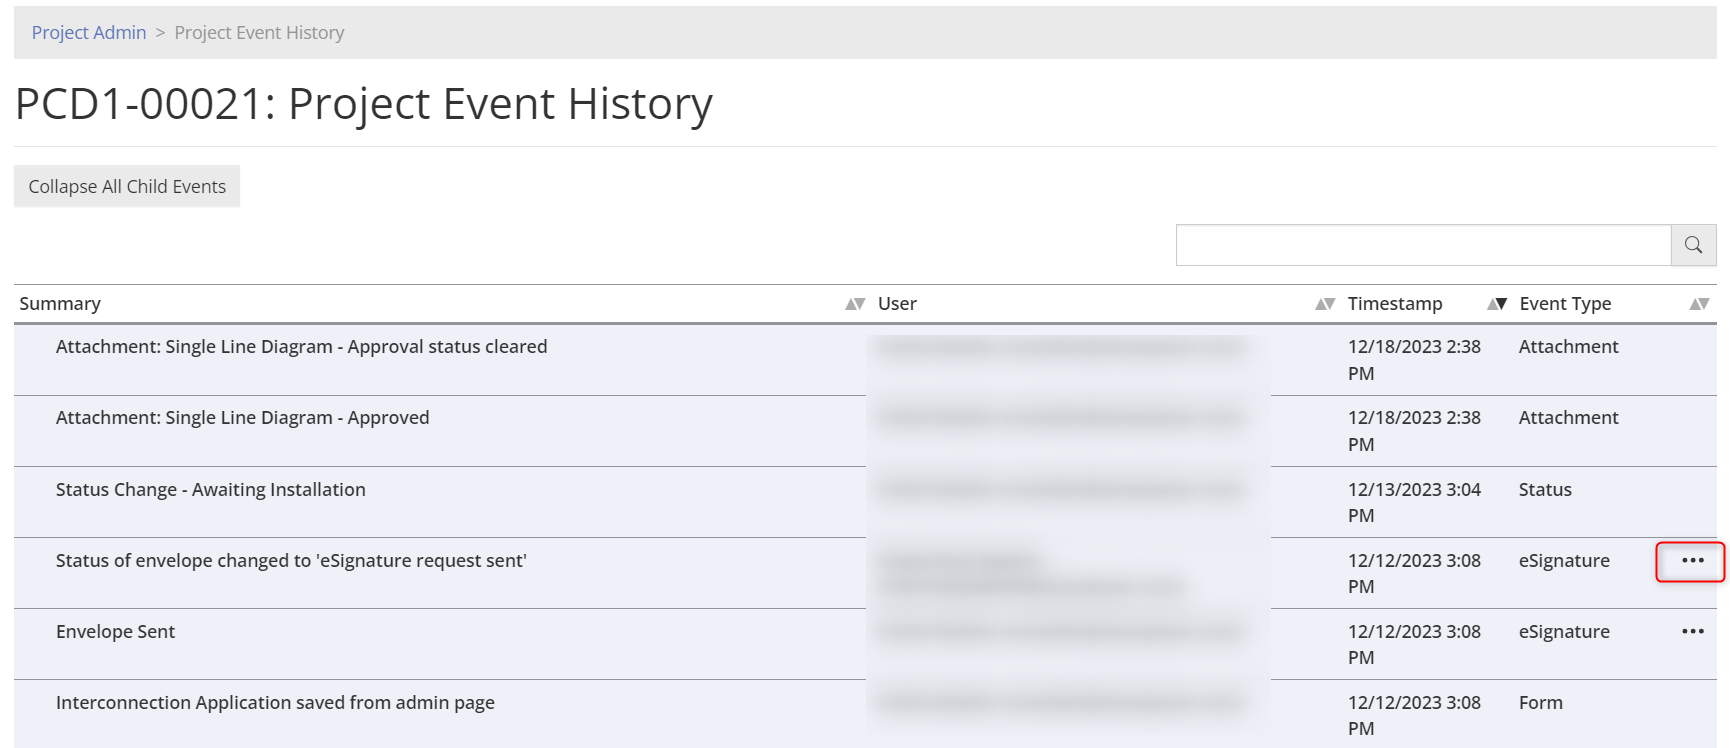
This link will display all the PowerClerk actions a project has undergone either through an Automation, deadline expiration, manual status change, etc. Any event that is expandable will appear with three dots at the far right. Click on the line item to expand the event.
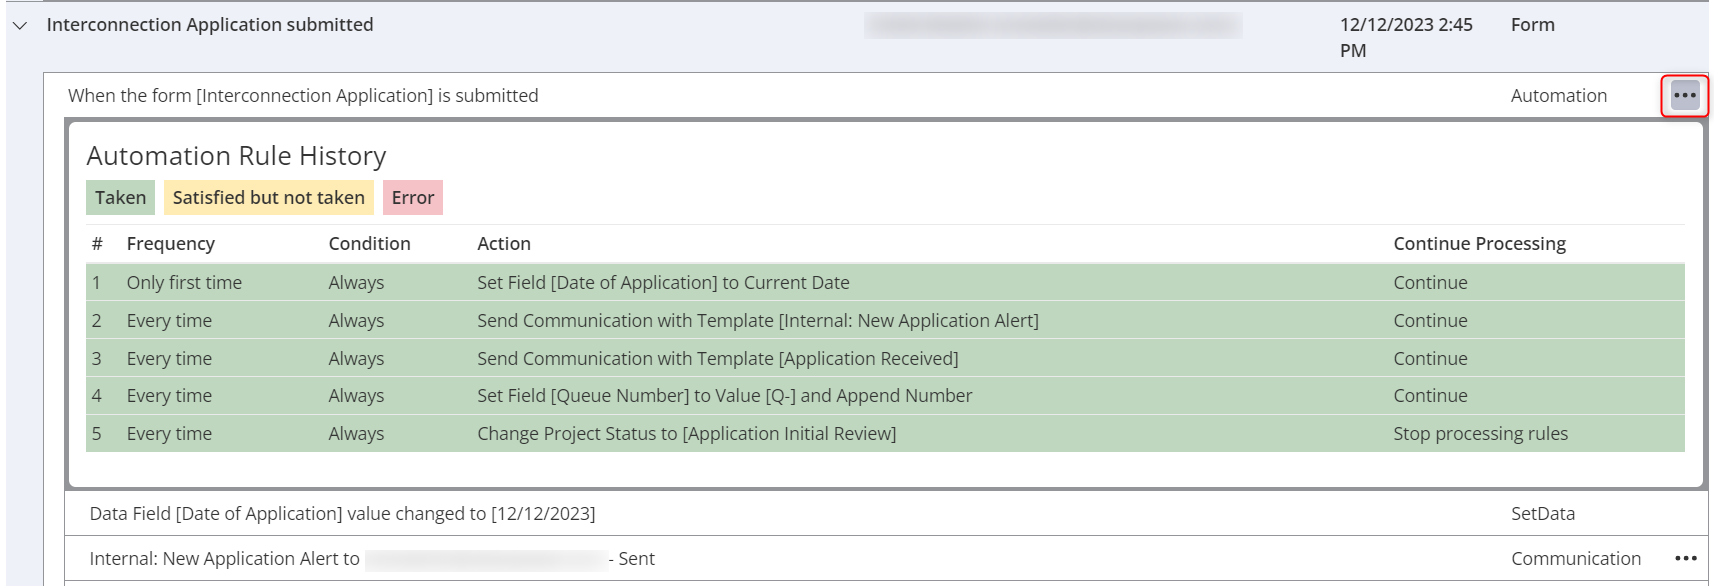
For example, when expanded, automation events will display the actions associated with the automation, and color-code which actions were ‘taken’, ‘satisfied but not taken’ (often due to the order they appear), or ‘error’.
Forms
Any forms that have been configured to be ‘available on the project admin page’ or have been previously submitted will appear in this section. To learn more about how to enable forms to appear in this section, see Form Configuration.

If a program design change has been made to the selected form then a ‘Promote Form’ button will appear when that form is selected. When pressed, the most recent version of the form will be applied to the project and available for the admin user to edit data in. Note: promoting a form that has been submitted can reveal new required data fields, that could appear as blank. Any user (i.e. the applicant via the View/Edit page or an Admin via the Admin page) could notice the data fields may have changed and this may yield an inconsistent applicant experience.

If a form is available in this section, users can edit the data fields present even if the form is not available in the current status. Any changes made on a form from the Admin page must be saved at the bottom of the page.

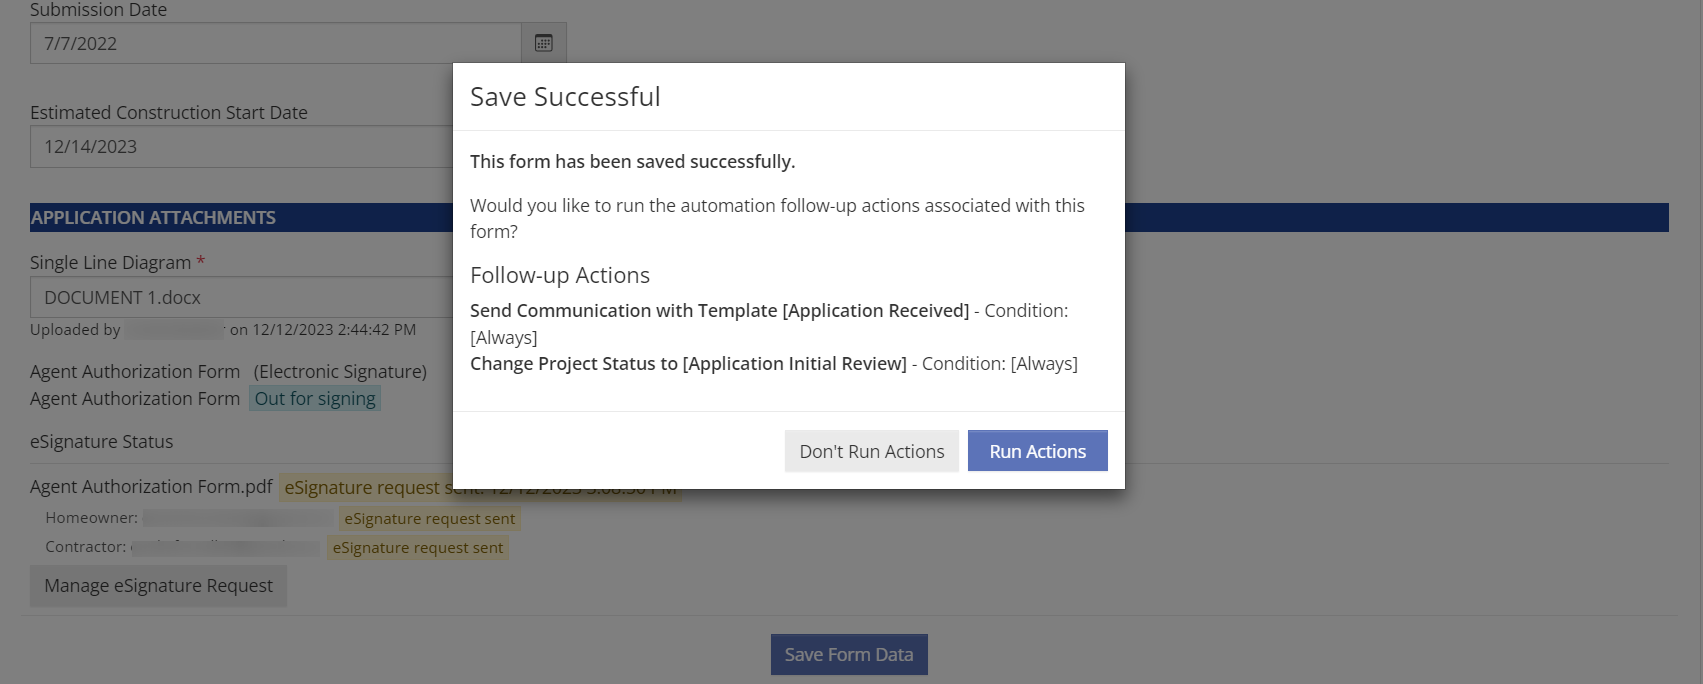
When saving forms from the Admin page, a pop-up will appear asking the user if associated automations should run.
Video Guides
Would a video guide help to better explain Automations? Contact us and let us know.
A full list of all Video Guides can also be found here.
FAQs
Have additional questions? Contact us to nominate your FAQ and help others find answers to your own questions concerning this feature.
Create A Support Ticket
Not finding your answer here? Submit a question to our support team at the PowerClerk Ticket System and leverage the PowerClerk team’s expertise.